System User Token (Facebook)
A step-by-step guide: how to create a Facebook app and generate a System User Token to connect a Facebook account in TitanCRM without a personal OAuth login.
Why you'd need this
A System User Token is a second way to connect a Facebook account in the Facebook accounts module. Unlike a personal OAuth login, the token is generated manually in Business Manager, never expires, and isn't tied to any one employee's login.
Before you start
- A Facebook account with full (admin) access to the target Business Manager (BM).
- The ad accounts, Pages, catalogs or pixels you need to connect are already added to that BM.
- Any URL for a Privacy Policy — you can generate one in 2 minutes if needed (step 4).
In the TitanCRM interface
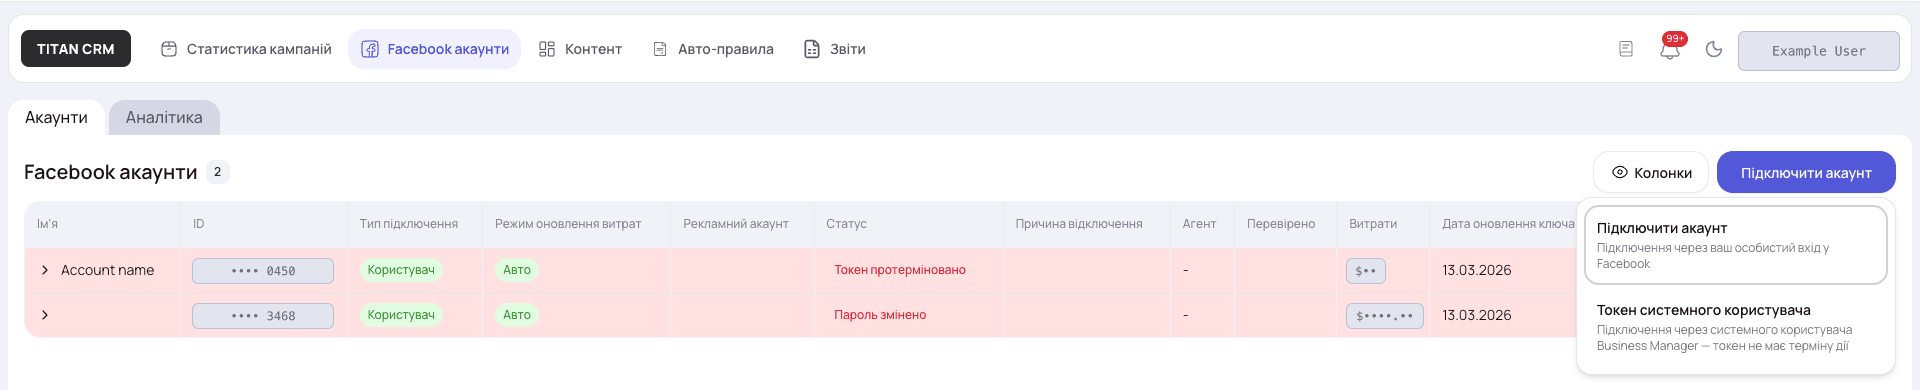
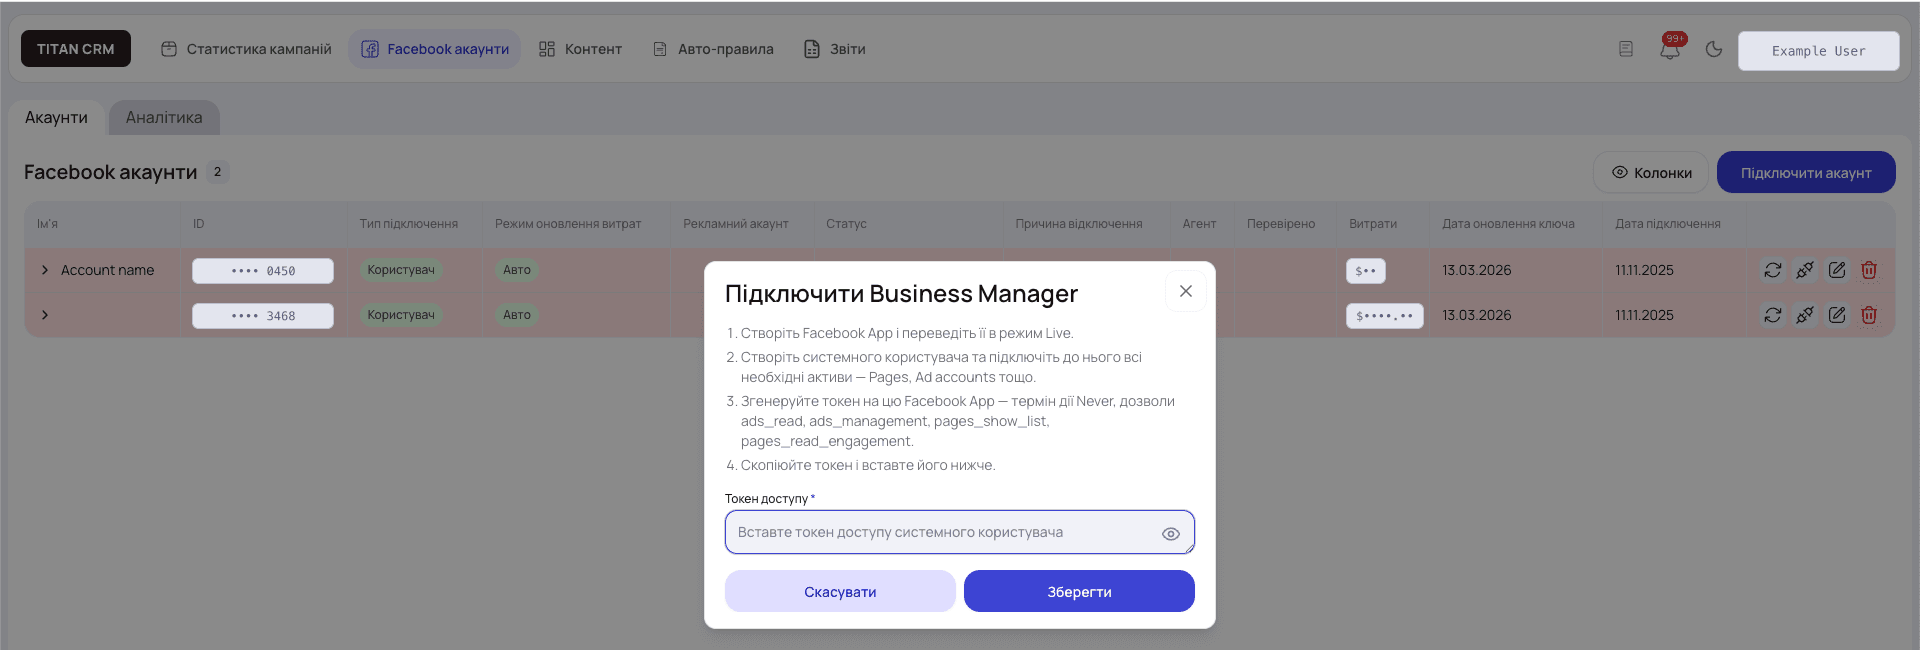
Part 1 — Creating the app
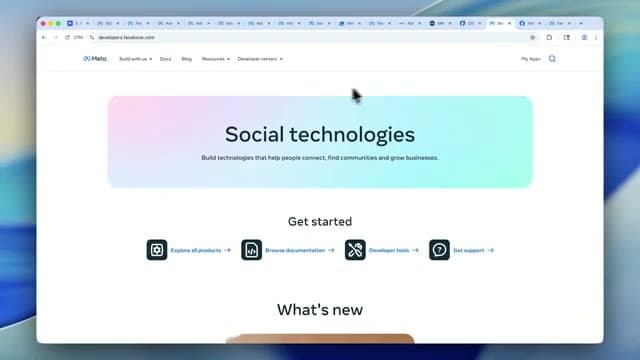
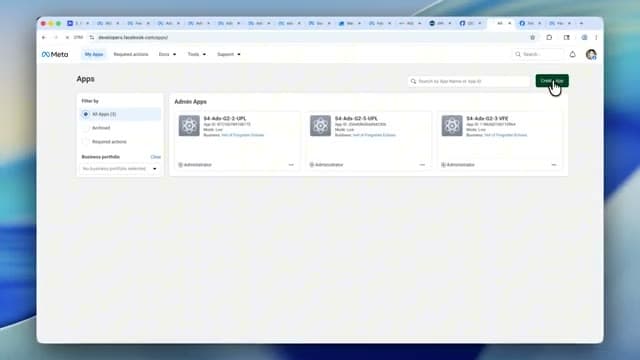
1. Open Meta for Developers. Sign in to a Facebook account with admin access to the target BM and go to developers.facebook.com → My Apps → Create App.
2. Set a name and email. Enter any app name (e.g. Token) and a contact email — the one tied to your account works fine.
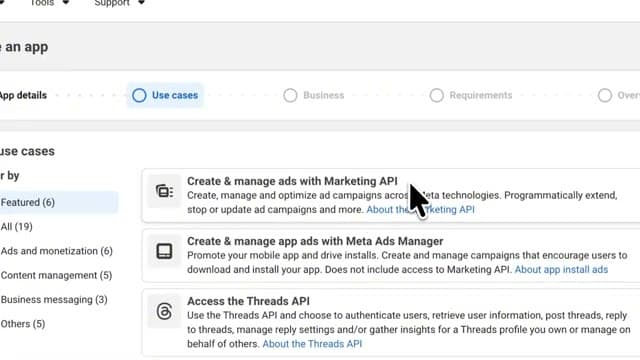
3. Choose the app type. There are two options here, depending on what Facebook shows you:
- If “Create and Manage Marketing API” is available — pick that.
- If it isn't — pick Other → Business → Next, then choose the target BM and finish creation after reviewing the details.
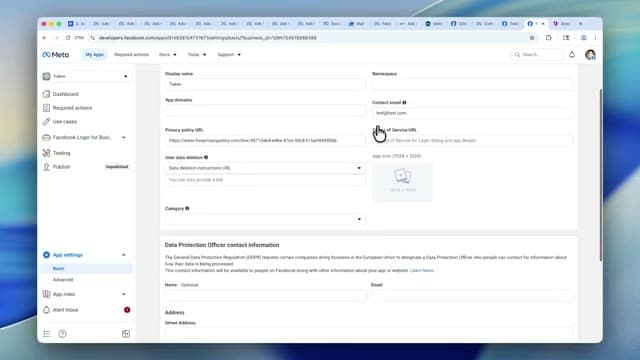
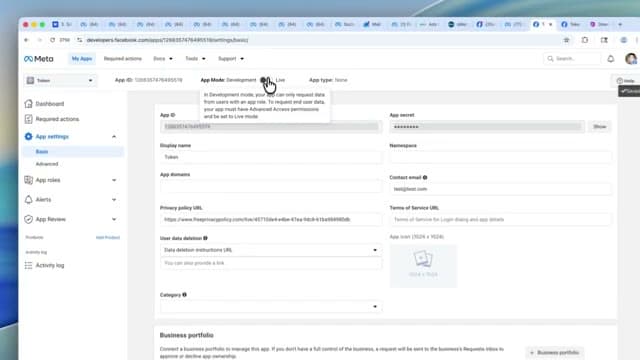
4. Fill in the Privacy Policy URL. In the app, open App settings → Basic — the Privacy Policy URL field is required. If you don't have your own policy, generate one in a minute via any online generator (search “policy generator”). Decline every paid option along the way — the cost should stay $0 — enter an email to receive the link, and click “Generate.”
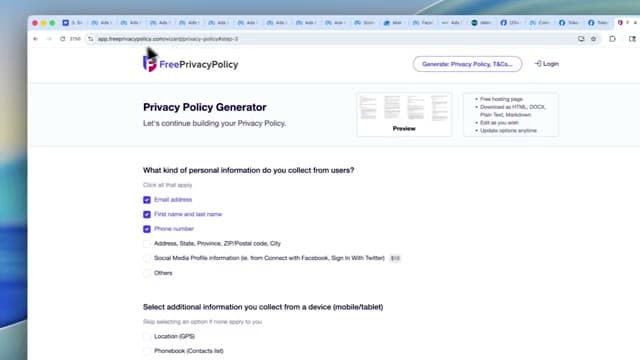
Paste the resulting link into the Privacy Policy URL field and click Save changes.
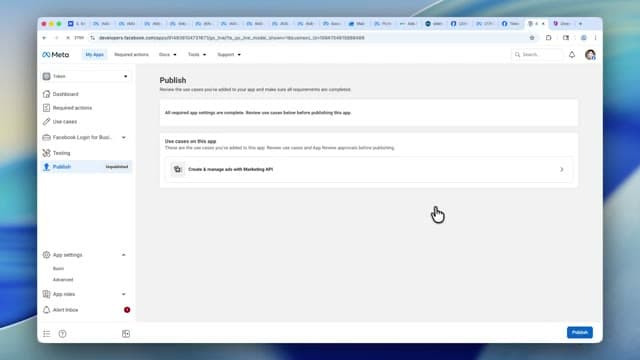
5. Publish the app (Live).
- The Publish tab → Publish button → the status changes to Published.
- Or: App settings → Basic, and flip the same toggle to Live.
Part 2 — System user and token
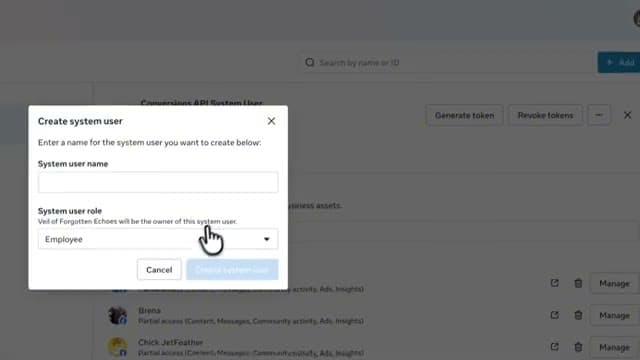
6. Create a System User. Business Settings → System Users → Add — create a new system user.
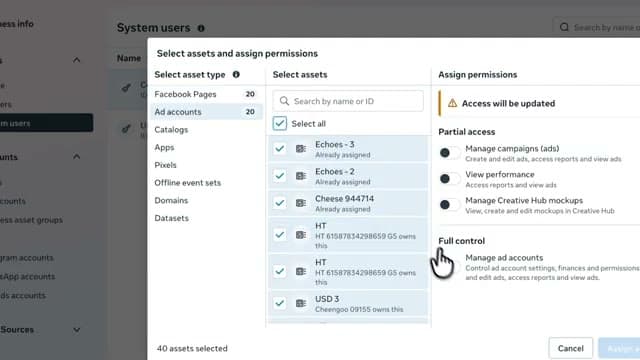
7. Assign assets. Click Assign Assets and add everything TitanCRM should have access to: Pages, ad accounts, catalogs, pixels and your app. The simplest option is to select everything at once.
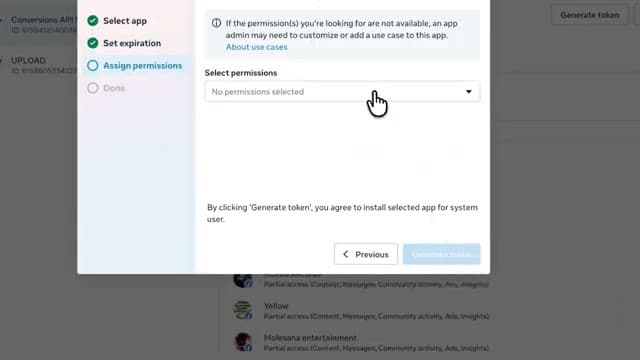
8. Generate the token. Click Generate New Token, pick the app you just created, and set the expiration — Never is recommended so the token can't expire and break the connection.
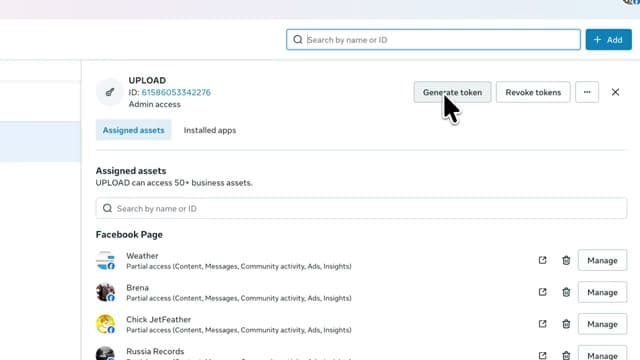
Check the permissions you need (at minimum, for ads and Pages) and click Continue:
| Permission | Why |
|---|---|
| ads_read | read ad account statistics |
| ads_management | manage ad accounts and campaigns |
| pages_show_list | see the list of Pages connected to the BM |
| pages_read_engagement | access Page data |
A few things to watch for
If you were only recently granted admin rights in the BM, from another account, clicking Generate Token may show a confirmation request.
In that case, sign in to the account that has had admin rights for a while, open the requests section, approve the action — then go back and click Generate Token again.
What's next
The token you generated goes into the “Connect Business Manager” dialog in Facebook accounts — it's what gives TitanCRM access to manage the ad accounts, Pages, catalogs and pixels attached to that System User in this BM.